
 Русский
 Español
 中文
中文Landing pages help to increase the interest to your offers and, as a result, convert your targeted audience into leads. But have you ever thought how to attract interested users only to your offer?
This article shows one of the ways it can be done with BeMob.
You should create two campaigns, for instance, Campaign 1 and Campaign 2.
Start with setting Campaign 2.

Don’t forger to create traffic source and affiliate network before start setting a campaign.
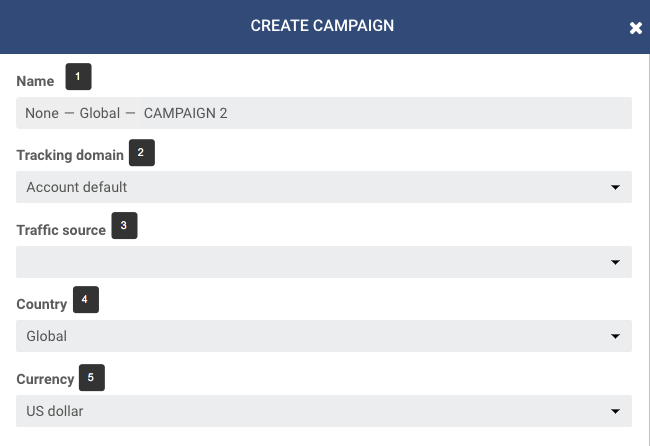
As usual all the settings start with defining the name – name your campaign (step 1). After that you should select the tracking domain, traffic source, country and campaign currency.
This example is based on selecting built-in flow as a destination, because it’s the fastest way to set a campaign. Select Built – in flow if offers and landings are not created beforehand.
However you can select Flow as a destination if required.
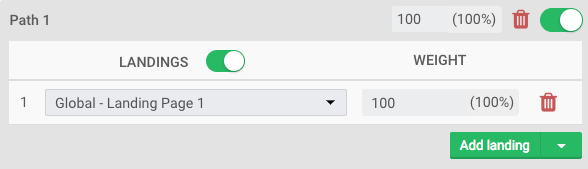
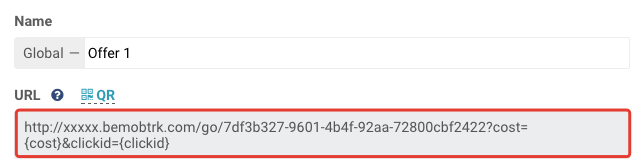
For Campaign 2 you should select Landing 2 and Offer 2, where Offer 2 is a tracking link to the target Offer.

Click Save button to save the settings and see the window with campaign links. The campaign links for a required campaign are also available when clicking Campaign links on the panel.
Copy the Campaign 2 URL and move to Campaign 1 settings.
All the campaign configurations should be performed in the same way as above. You should select Landing 1 as a landing in Campaign 1.
However the offer settings will be different. Campaign 2 URL should be placed in the URL field for Offer 1.
As a result if a user go through Campaign 1 URL, a user will see Landing 1.
When clicking the CTA button on Landing 1, a user will be redirected to Campaign 2 URL with Landing 2.
Your users will see Landing 2 right after Landing 1 since our redirects are very fast. After that when users click the CTA button on the Landing 2, they are redirected to Offer 2 with a target link.